This summer seemed to be the summer of cutaway illustrations! Yes, it might sound a little drab, but to someone who loves technical details, this latest project had it all. The four cutaway illustrations featured product inside of a residential house, a hospital, an office building and a school.

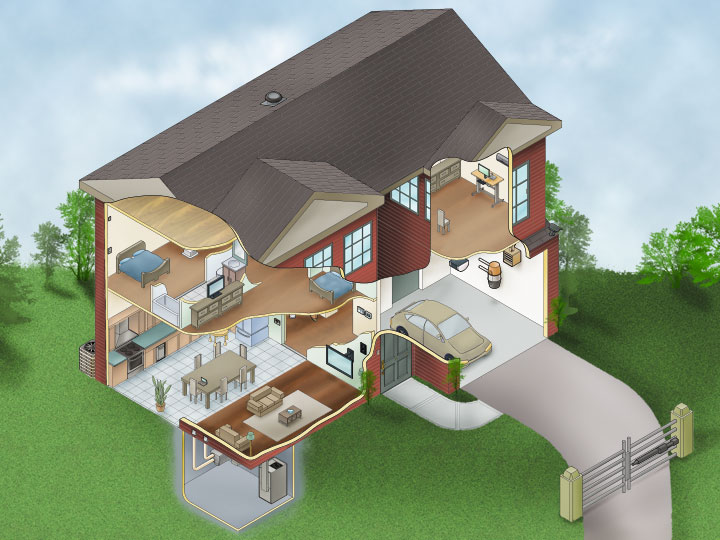
This house showcased 26 items in various rooms including the kitchen, living room, office and garage.

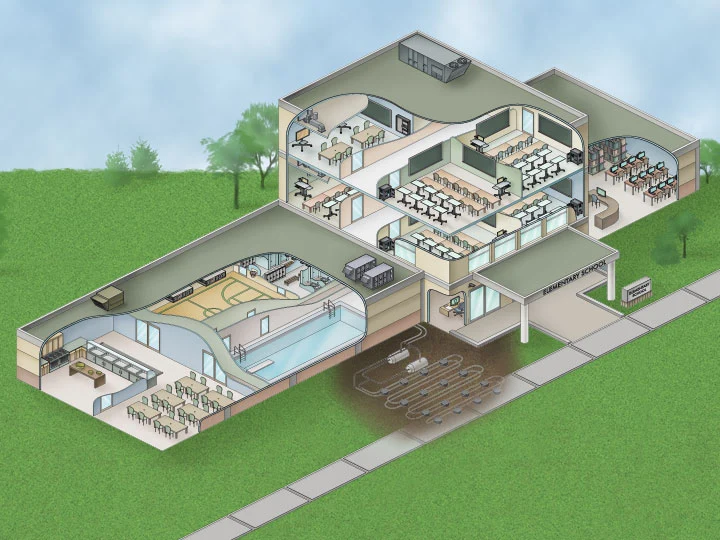
The school showcases products on the roof, in various classrooms, the library and the cafeteria, as well as underground components for a total of 15 products that were to be featured.

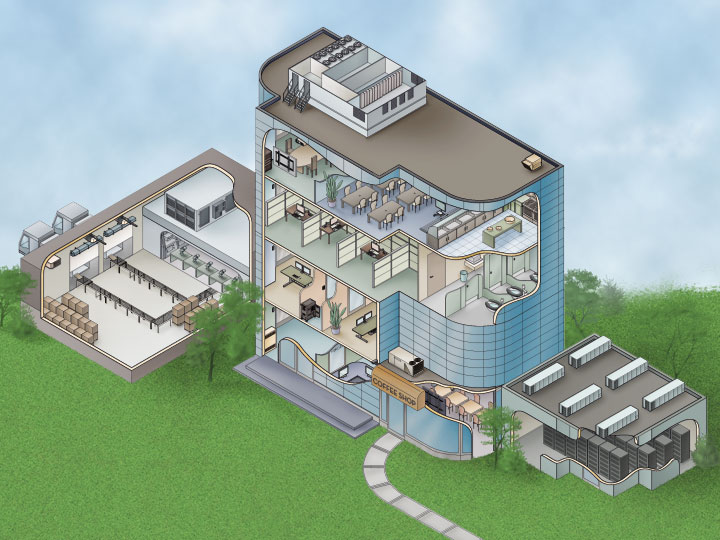
This office building with adjoining warehouse and data centre focused on 23 products in various offices, a coffee shop and with roof-top units and boardroom components.

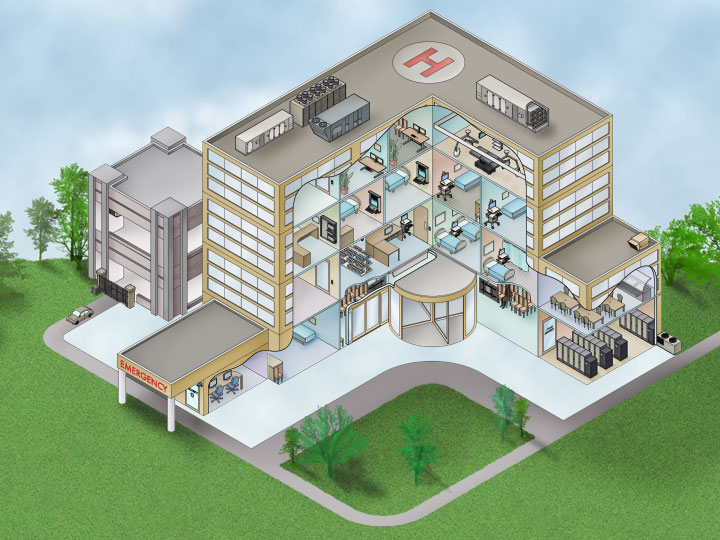
From operating rooms to a parking garage, this hospital cutaway features it all. With a total of 24 components shown in patient rooms, offices, at nurse’s stations and even a selection of roof-top components.
The challenge of creating a cutaway illustration of this sort, where the client requires featured product, lies in what rooms to show in order to cutaway and view that product. An efficient process takes the challenge and breaks it down in order to execute the cutaway properly. Here’s what I did:
1. Starting with a list of all the components the client wanted to feature, I broke them into various rooms that they could appear in.
2. With the list of the rooms required to be shown in the cutaway, I created a 2D floor plan where those rooms were on the two main facing sides of the layout.
3. The 2D layout was then created in a 3D sketch which allowed for the cutaway to be introduced that would reveal the most important rooms featuring all of the products.
4. From the sketch phase we moved into a digital line drawing which detailed all of the components, as well as any items that needed to be added so a viewer understands the room type (ie. in the school we added desks to classrooms).
5. With full approval of the line drawings, the colour artwork was created and labels were added to call out the featured components.
Nothing is more satisfying than taking on a complex illustration! As a Technical Illustrator, it’s the part of the job that I love most.
Thanks to Kristina and Marc for making what could have been a great deal of back and forth, a rather enjoyable process!

Hi Leanne,
These look great! I know how difficult this kind of assignments can be and you have handled the job with finesse. I look foreword to seeing more good work from you.
Best,
John
Thanks John, much appreciated!
-Leanne