
I’ve been sitting on this post for a while but seeing as today is Devo Day I think it’s the perfect time to finally share this really easy DIY on how you can make one of their signature hats.
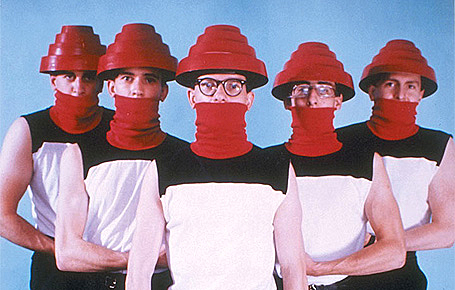
This is Devo:
Many years ago The Becket Players used the song “Whip It” in one of our shows, and the director at the time had asked if I could make hats for the band and performers. I said “Sure!” because I can make anything. I had no idea how I would make them but I figured it couldn’t be THAT hard, and worst case I could find an online tutorial.
Well. Turns out that in 2015 there were no online tutorials. I believe I’d found one for vacu-forming my own which was not an option. I tested out SO MANY ideas, from cardboard to foam inserts. I tried stacking foam disks and wreath rings… I bought a huge sheet of pink insulation foam to try cutting and carving the shape… nothing was working out. Whatever option I found had to be inexpensive to make, had to be sturdy enough to last through numerous performances, tech week and rehearsals including being tossed around after quick changes, and finally it had to be feasible for me to make TEN of them in a short timespan.
In the end I came up with a method that is both cheap AND easy, durable, and will work great for any occasion where you want to dress up like the Akron rockers.
The only materials you will need to buy are sheets of red Bristol Board and clear packing tape. That’s it! I bought both supplies at my local Dollarama making this VERY cost-effective for the non-profit. You will also need a pencil, a ruler, a pair of scissors, a craft blade, and either a compass or 4 round household items to trace for your circles.
While doing my initial research I’d found someone’s old post providing measurements they’d taken from a vacu-formed Energy Dome they’d caught at a Devo concert. According to that post the actual hat has a 9 3/8″ diameter base that tapers to 8 5/8″, the 3rd ring starts at 7 1/2″ and tapers to 7″, the 2nd ring is 5 5/8″ and tapers to 5 1/4″, and the top ring is 3 3/4″ at the base and tapers up to 3 1/2″. The lower two rings were each 1 3/4″ tall, the 2nd ring is 1 1/4″ tall and the top ring was only 3/4″ tall.
I didn’t want to go to the trouble of making tapered rings as no one would be noticing that closely from the audience.

I found 4 round household objects that fell within similar dimensions as the original hat. My plastic lid was 4″ in diameter, the coaster was 5 1/2″ across, the cheese plate was 7 1/2″ across and the top of my bowl (I traced it top-down) was 9″ in diameter.
NOTE: I’m apologizing in advance for the quality of the images in this post. At the time all I’d had was an old iPhone and didn’t realize the glare off the sheet of laminate I was using as a table-protector was creating a massive glare that blew out all of the photos. I did my best to edit them and make them usable.
Trace out your largest circle as many times as per the number of hats you need. I needed 10 but as this was for a theatrical production I made 11 so we’d have one extra in case of emergency. I was able to fit 5 hats per sheet of Bristol board.
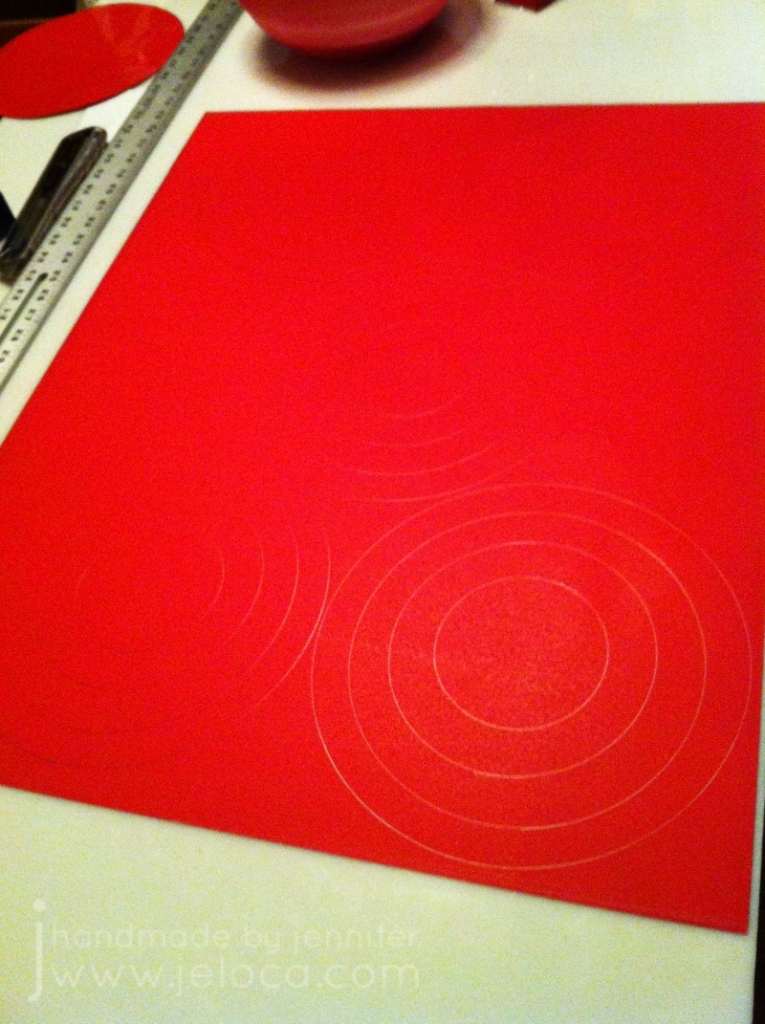
Evenly center your other circles within the first one and trace them all out so you end up with 4 concentric rings.
This next step is optional but if you skip it then for best results you will need to do all of your assembly from the inside of the hat, which can get unwieldly.

To be able to work from both sides, as well as to protect the hat from water and tearing, evenly cover your Bristol board with packing tape. It’s difficult to see in this image but for the ring in the center of the board I only taped across the ring itself and didn’t waste tape covering the two sides that wouldn’t be used. If you want your hat fully water-resistant then you can cover the reverse side as well.

Cut out each of your disks of rings.
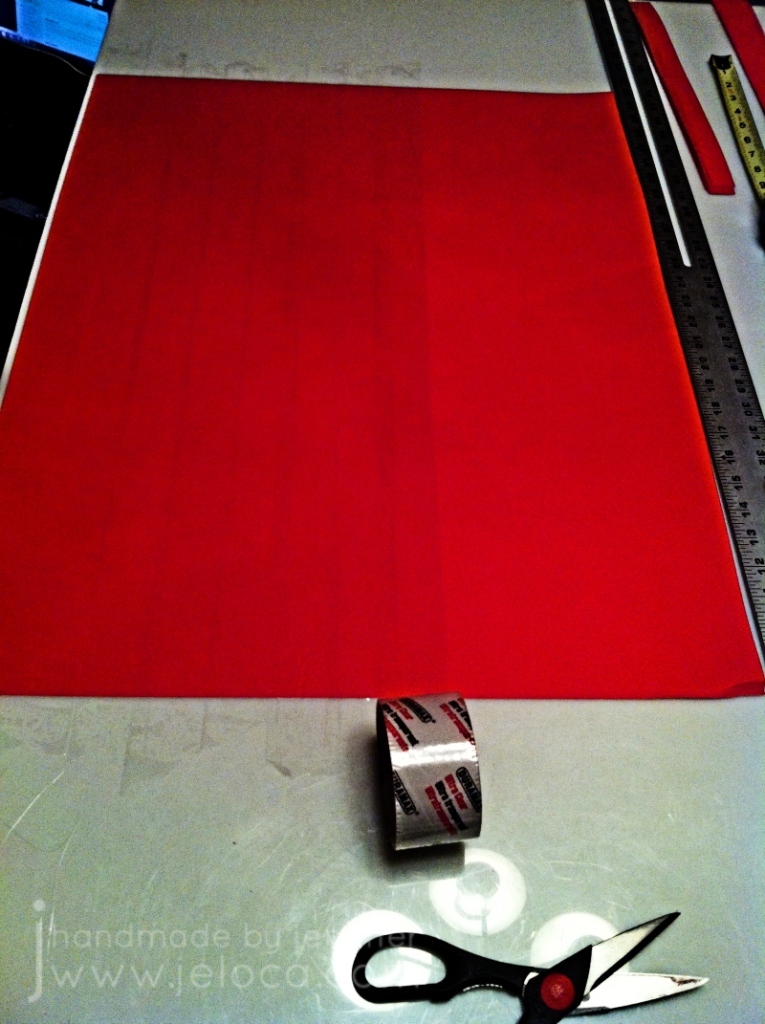
Next I marked out strips of Bristol board at the widths I listed for the heights of the tiers, above. In total I needed strips that were 3/4″ wide, 1 1/4″ wide, and double the amount of strips that were 1 3/4″ wide.
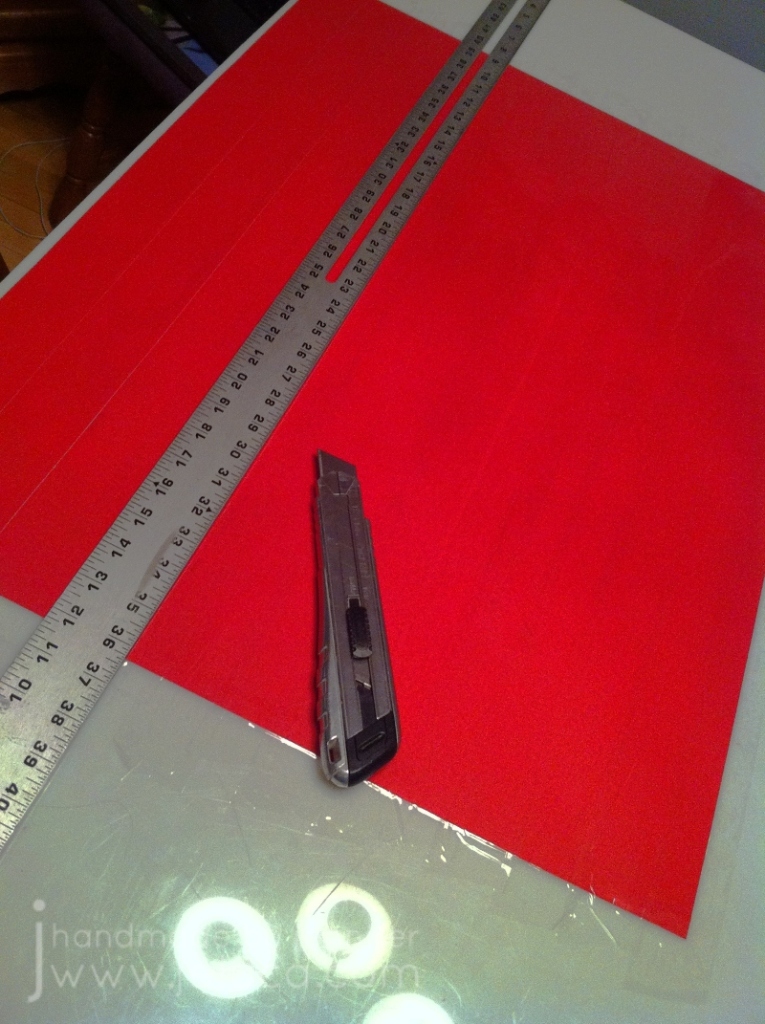
After protecting these sheets with packing tape too, I used a craft blade and straight edge to cut the sheets into strips. You can also use scissors if you prefer.

I kept the extra lengths of 1 3/4″ strips as I would need to attach them together to get long enough lengths to go around the circumference of the larger circles.

Use a craft blade to cut the disks into 3 rings and a center circle.

Use packing tape to secure one of the 3/4″ strips around the edge of the circle. This is where the magic of the packing tape happens – when sticking tape to the tape-covered surface the new pieces are nearly invisible!
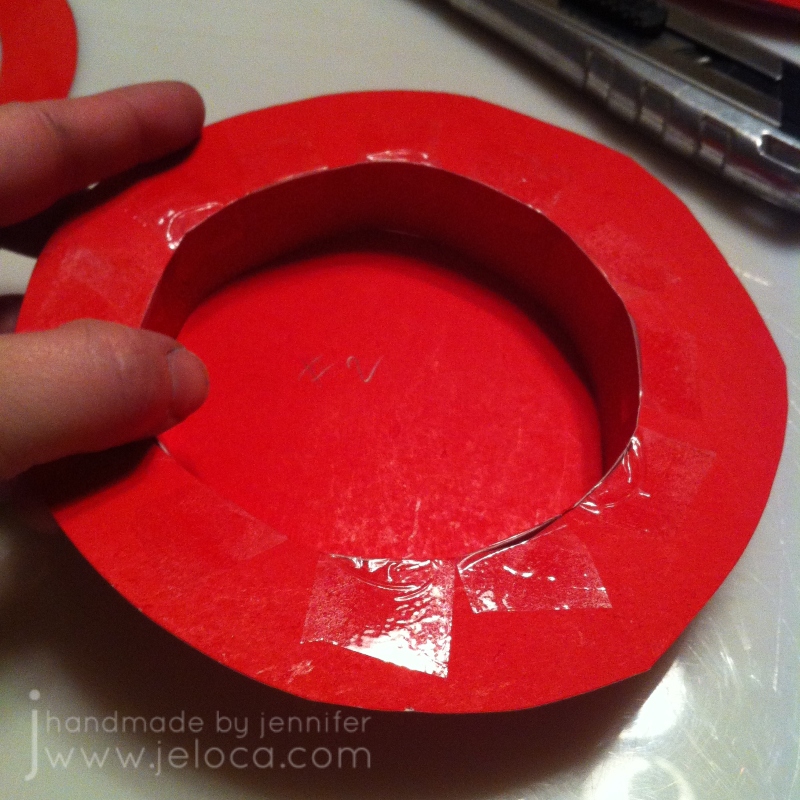
Use more tape to secure the first ring around the base of the top tier. I did not cover the reverse sides of my board so you can see here how obvious the tape is against the plain paper.

Next, attach a 1 1/4″ strip around the edge of the ring to create the 2nd tier.

This is how it will look after that step is complete.

Repeat the process, moving down layer by layer, and using packing tape to attach everything.
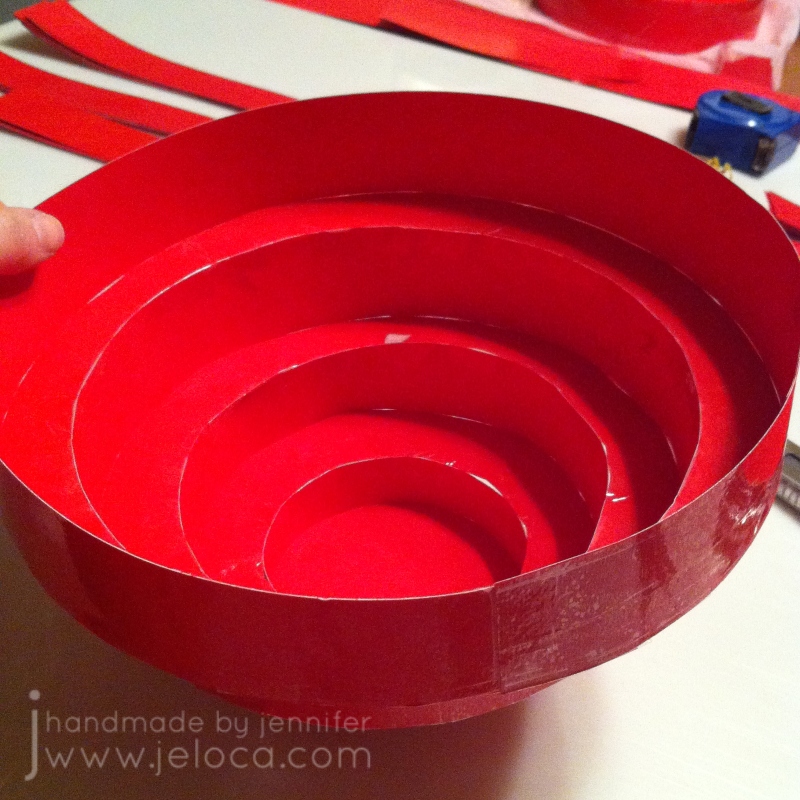
This is the inside of the hat.

Here’s the finished result! From a distance no one can tell that it doesn’t taper the same way as the original, and any tiny gaps or seams where the paper doesn’t abut is practically invisible.
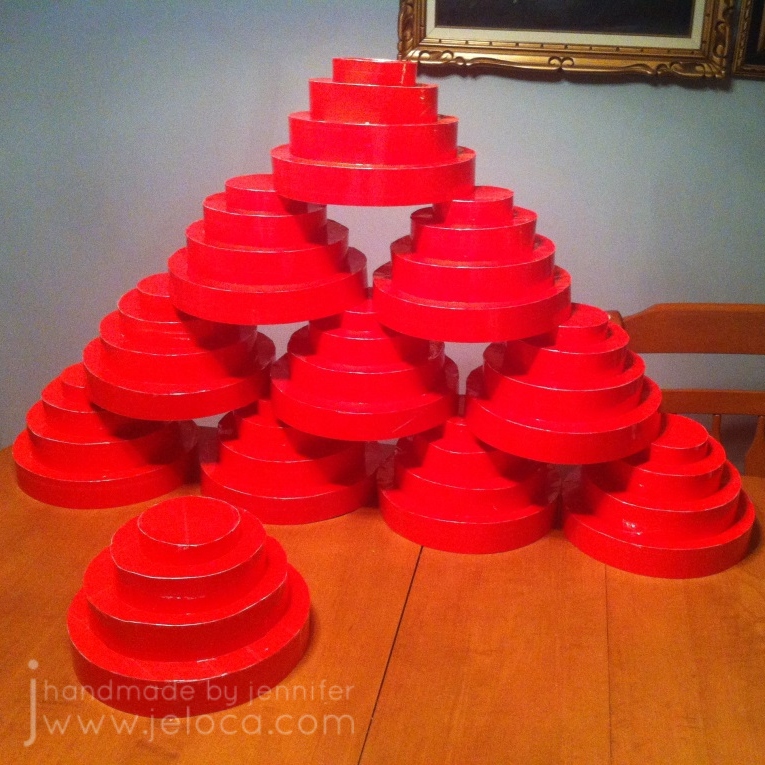
Here are all 11 hats. Once I figured out how to do it they were SO fast and easy to make, and the visual payoff has a ton of impact.

Here they are in-show. All 6 band members are wearing them, as well as the 4 dancers in front. The dancers had some moves where they bent forwards so for their hats I stapled a length of elastic band to the inside, to keep the hat secured. Over the full run of rehearsals and shows we had only one elastic band come loose and no broken or torn hats. In fact, some of the cast members have let me know in the last year that they still have their hats and they’re still in great shape!

They also stack really well for transport and storage.


June 26, 2023 at 8:17 am
Would you sell these?
LikeLike
July 2, 2023 at 12:34 pm
I don’t sell the finished hats. I wouldn’t want to take a chance on the paper being crushed during shipping. But they really are easy to make and with dollar store supplies it would be much cheaper to make it yourself than for me to charge for materials, time & shipping!
LikeLike
April 6, 2024 at 4:33 pm
Hola Jennifer. Seria ideal que publicaras una plantilla de cada base del sombrero. Me refiero a un molde.
Saludos.
LikeLike